Summer 2024 Big-RV renovations

On the three-year trip, I modified our 5th wheel RV so that the rear bunkhouse had two separate rooms, which first involved adding a door from the living room into the rear bathroom.

We’ve been thinking about what to do with the floorplan in our post-children-travel era, so this summer we decided to put in a little work on the 5th wheel.

Here’s the “before” floorplan:

RV_before_renov

We first removed the wall between the bedrooms:

Summer_2024_RV_Renov_001

Summer_2024_RV_Renov_002

And we’re back to one big bunkhouse:

Summer_2024_RV_Renov_003

We want a more open floorplan, so the wall between the main room and the bunkhouse needs to go:

Summer_2024_RV_Renov_004

That’s better:

Summer_2024_RV_Renov_005

Next, we transformed the rear bathroom into a home office space:

Summer_2024_RV_Renov_006

Summer_2024_RV_Renov_007

Done:

Summer_2024_RV_Renov_008

Next, we removed the bunkhouse cabinetry:

Summer_2024_RV_Renov_009

Summer_2024_RV_Renov_010

Done:

Summer_2024_RV_Renov_011

Pulled out the carpet:

Summer_2024_RV_Renov_012

Removed the slide trim:

Summer_2024_RV_Renov_013

Blank slate:

Summer_2024_RV_Renov_014

Removed the main room’s slide carpet:

Summer_2024_RV_Renov_015

I had previously replaced this section of floor due to water damage from the slide not sealing correctly, but the new section was a little taller than the original floor.  I pulled it out and cut down the joists to make the height correct.

I also removed more of the original flooring that was water damaged:

Summer_2024_RV_Renov_016

Building out the replacement floor:

Summer_2024_RV_Renov_017

Summer_2024_RV_Renov_018

Done:

Summer_2024_RV_Renov_019

I de-carpeted the forward half of the RV, but the stairs were not usable sans carpet, so I removed them too:

Summer_2024_RV_Renov_020

Carpet out of bedroom:

Summer_2024_RV_Renov_021

We added shiplap to the back wall:

Summer_2024_RV_Renov_022

Summer_2024_RV_Renov_023

We bought a sofa for one of the bunkhouse (which is now the living room) slides.  We’re waiting for the cushions to “inflate” after unpacking them.

Summer_2024_RV_Renov_024

The other bunkhouse slide will become the garage.  Testing the fit:

Summer_2024_RV_Renov_025

I drew up and 3D printed a fork mount for the mountain bike:

Summer_2024_RV_Renov_026

Works well:

Summer_2024_RV_Renov_027

Framing the garage door:

Summer_2024_RV_Renov_028

Done:

Summer_2024_RV_Renov_029

I removed the sink plumbing in the former second bathroom:

Summer_2024_RV_Renov_030

Summer_2024_RV_Renov_031

I don’t have plywood of the right thickness to plug the sink supply line hole, so I drew and printed a disc to plug the hole:

Summer_2024_RV_Renov_032

I capped the toilet plumbing and printed a plug for this hole as well:

Summer_2024_RV_Renov_033

Summer_2024_RV_Renov_034

I installed gas shocks to allow the garage door to be held open:

Summer_2024_RV_Renov_035

Summer_2024_RV_Renov_036

Building a new set of bedroom steps:

Summer_2024_RV_Renov_037

Summer_2024_RV_Renov_038

Just for fun, I modified my home standing desk and built a tabletop out of the kids’ old RV bunk tables to test the feel of the “home office”:

Summer_2024_RV_Renov_039

The main room slide seemed to leak, which I traced to the waterproofing tape that covers the screws that attach the slide wall to the slide roof.  The screw heads had worn through the waterproofing tape, allowing in water.  I re-taped all the slides:

Summer_2024_RV_Renov_040

Back in the garage, I added rubber flooring:

Summer_2024_RV_Renov_041

I built a locking mechanism for the garage door.  Looking up at the underside of the open garage door:

Summer_2024_RV_Renov_042

Garage door closed and locked:

Summer_2024_RV_Renov_043

Bikes in the garage:

Summer_2024_RV_Renov_044

Road bike mounted with a fork mount I drew and printed:

Summer_2024_RV_Renov_045

That’s it for now!
Truck Camper Utility Liberation: Mini-Split Air Conditioner

I mounted the compressor of the mini-split air conditioner (900BTU of cooling, 23 SEER2 efficiency rating) on the rear of the truck camper, which required removing the ladder.  Not a problem, since the roof is covered in solar:

0606231216

0606231216a_HDR

I mounted the air handler:

0606231425

I then had to drill a hole behind the air handler to the outside of the truck camper for the drain line and coolant lines, and ran the coolant lines up to the roof and back down to the compressor.  My neighbor happens to have an HVAC installation company, so he pressure tested my lines, then vacuumed them out so the coolant in the compressor could be released into the lines.

This air conditioner is amazing!  Instead of “all on / all off”, the compressor uses a variable amount of power to provide a constant level of cooling based on the thermostat setpoint.  Power consumption seems to range from 900 watts down to about 100 watts.

I can now park anywhere and have A/C and broadband Internet without any hookups!  This is a real game-changer, as it allows me to visit and stay in locations that would be too hot otherwise.

Truck Camper Utility Liberation: Solar and Battery Mods

The goal for summer of 2023 is to get off-grid (solar) air conditioning working.  This is the last step to having a completely off-grid RV.

The first steps are to increase solar absorption and battery capacity.

Since we haven’t used the big RV in a number of years, I decided to harvest from it the solar panels and solar charge controller.

I laid out the solar panels from the big RV (left), the truck camper solar panels (center), and the seven new panels I purchased.  The Starlink dish will be mounted to a wood panel in the empty spot:

2023_Solar_Batt_Mods_08

The panels will completely cover the roof, so the existing power-hungry and noisy rooftop A/C unit needs to be removed:

2023_Solar_Batt_Mods_02

2023_Solar_Batt_Mods_03

Hello down there!

2023_Solar_Batt_Mods_04

2023_Solar_Batt_Mods_05

I installed a powered roof vent to plug the hole:

2023_Solar_Batt_Mods_06

Let’s get mounting panels:

2023_Solar_Batt_Mods_09

2023_Solar_Batt_Mods_10

2023_Solar_Batt_Mods_11

As I approached the rear of the roof, I realized that the Starlink would be easier to work on if it is mounted not surrounded on both sides by panels, so I switched the middle and right rows:

2023_Solar_Batt_Mods_12

All panels installed, Starlink installed:

0622231544

Taking voltage and current limits into account, I put the 4 big-RV panels on the big-RV’s Morningstar controller (left).  The 4 original truck camper panels and 7 new panels are electrically identical, so I wired 8 of them in a 2P4S configuration and attached them to the truck camper’s Renogy controller.  The 3 remaining panels are attached to the new Rich Solar controller:

0530231628

More battery is always better, so I ordered 4 more LiFePO4 cells and a new BMS.  Combined with the original cells, I now have a 24V, 304AH (7.3kWh) battery.  Fits nicely in a milk crate!

Testing the new battery, using the new 24V inverter to run a space heater:

2023_Solar_Batt_Mods_07

All that’s left is to install the new air conditioner!

Fixing Truck Camper Tie Down

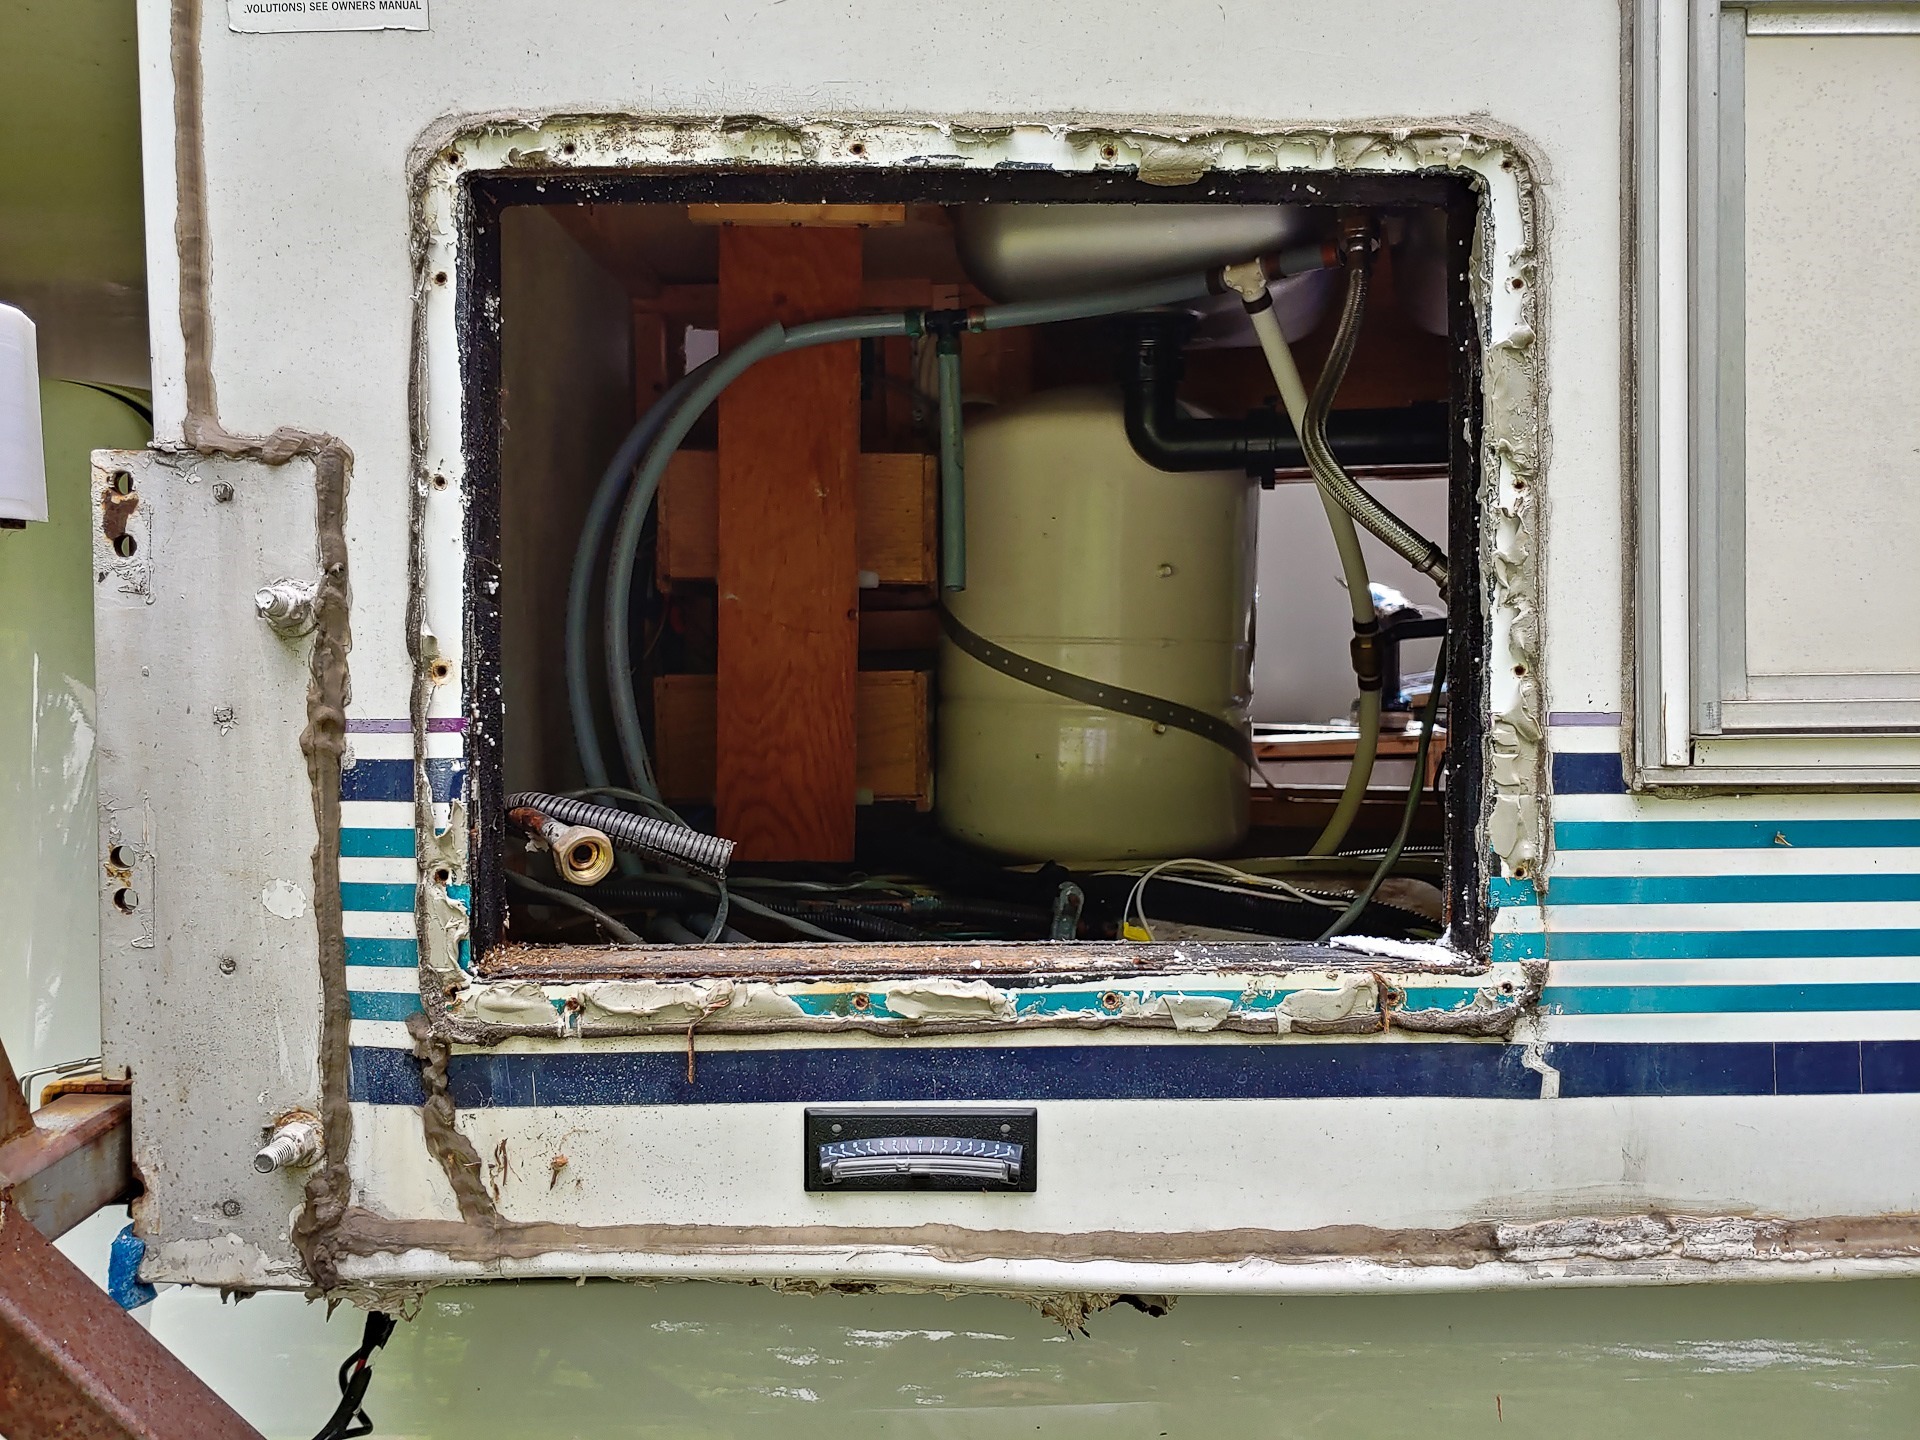
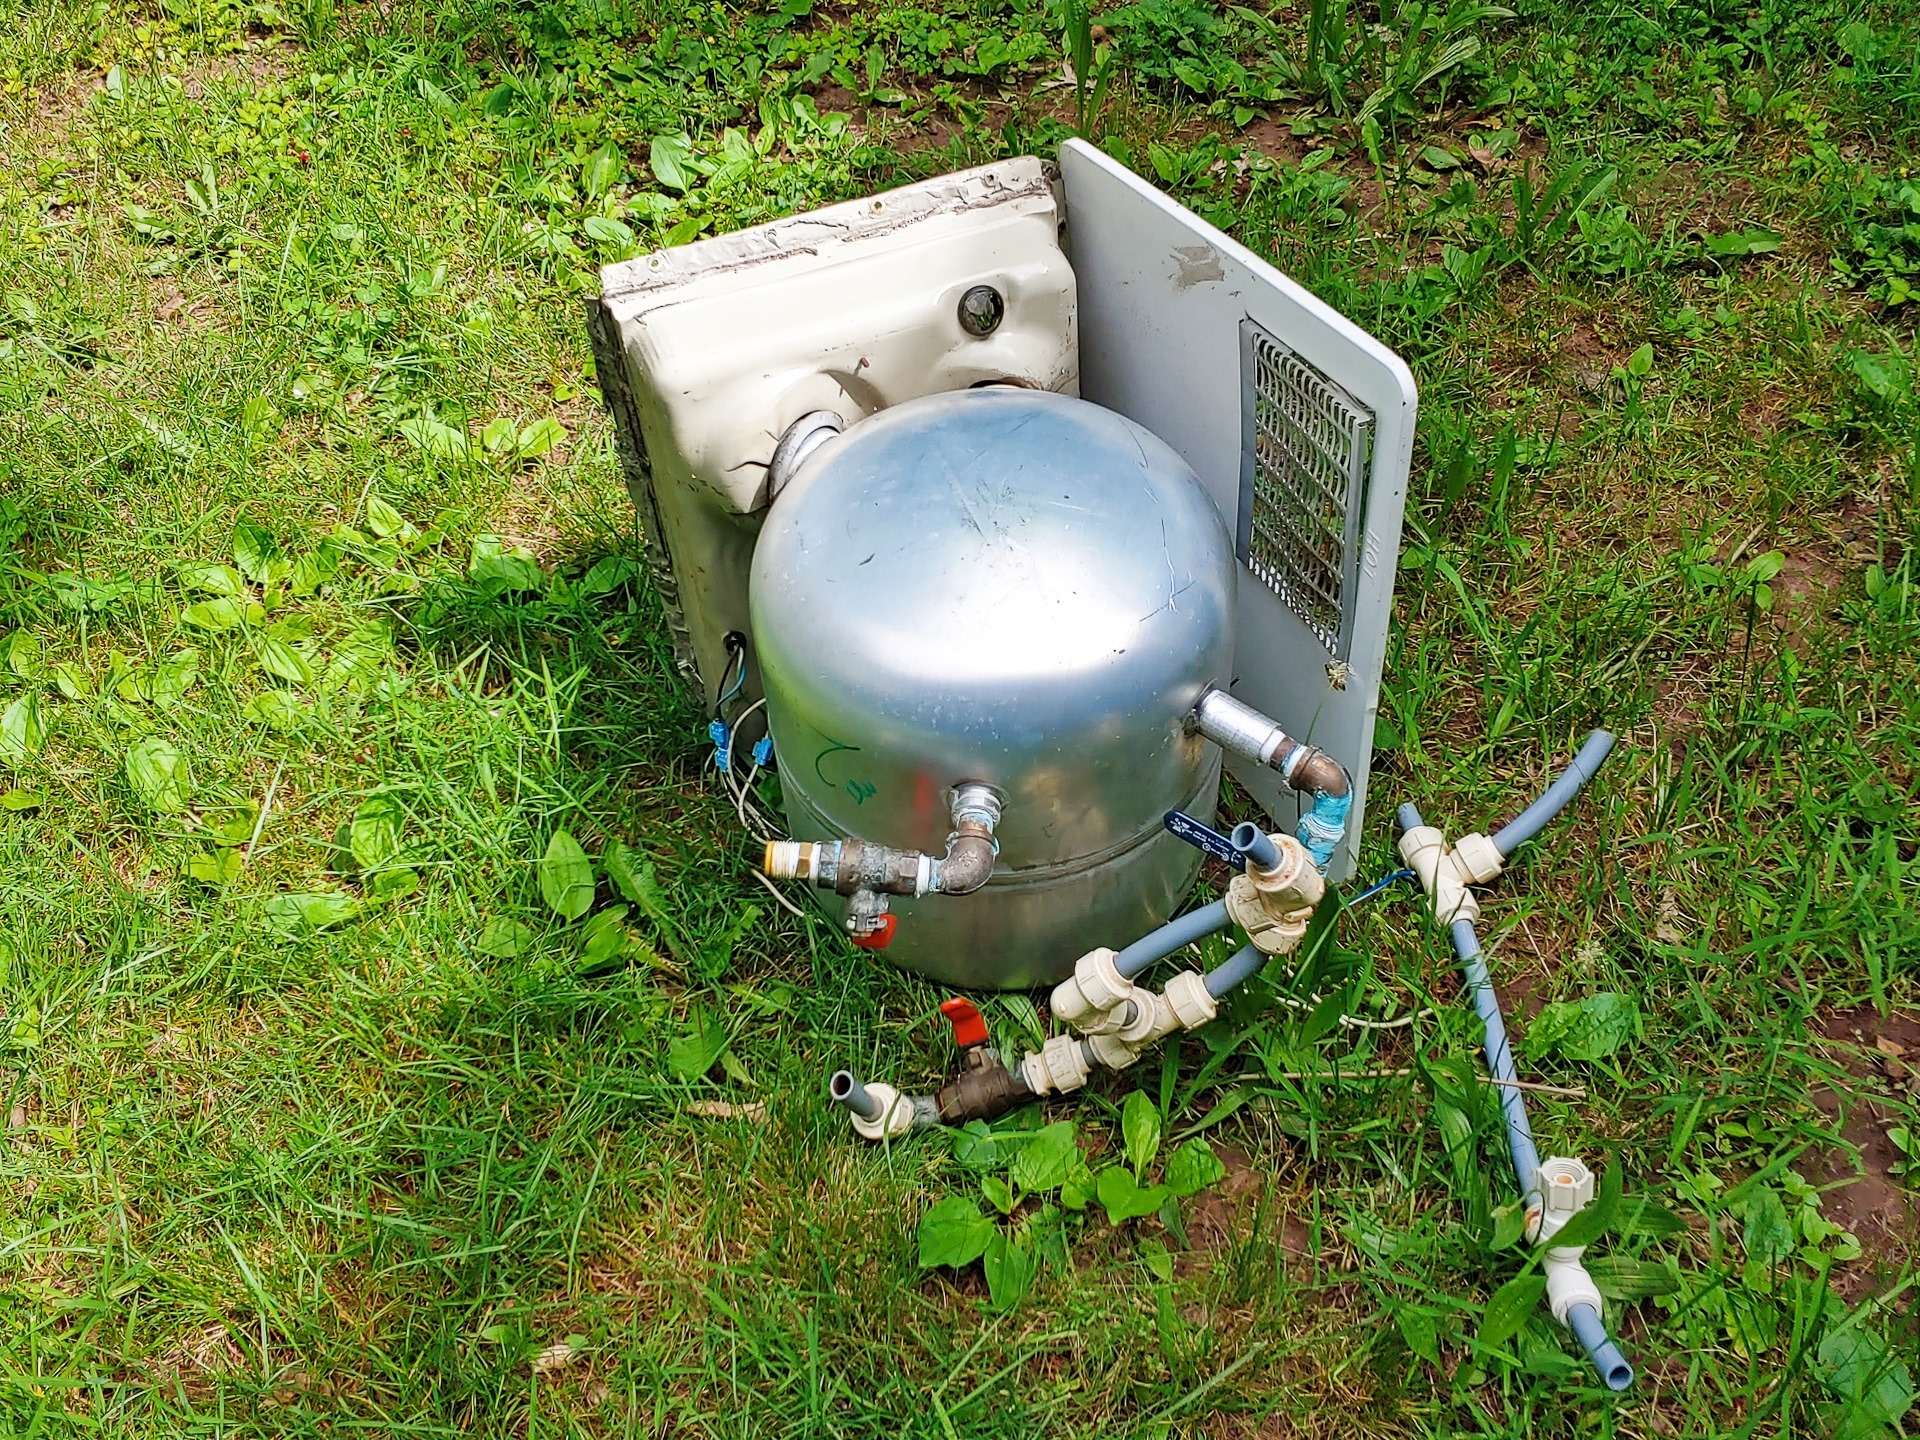
The front driver truck camper tie down pulled out when I applied tension to it.  To fix the problem, I first removed the broken water heater:

0607221008_HDR

0607221008a_HDR

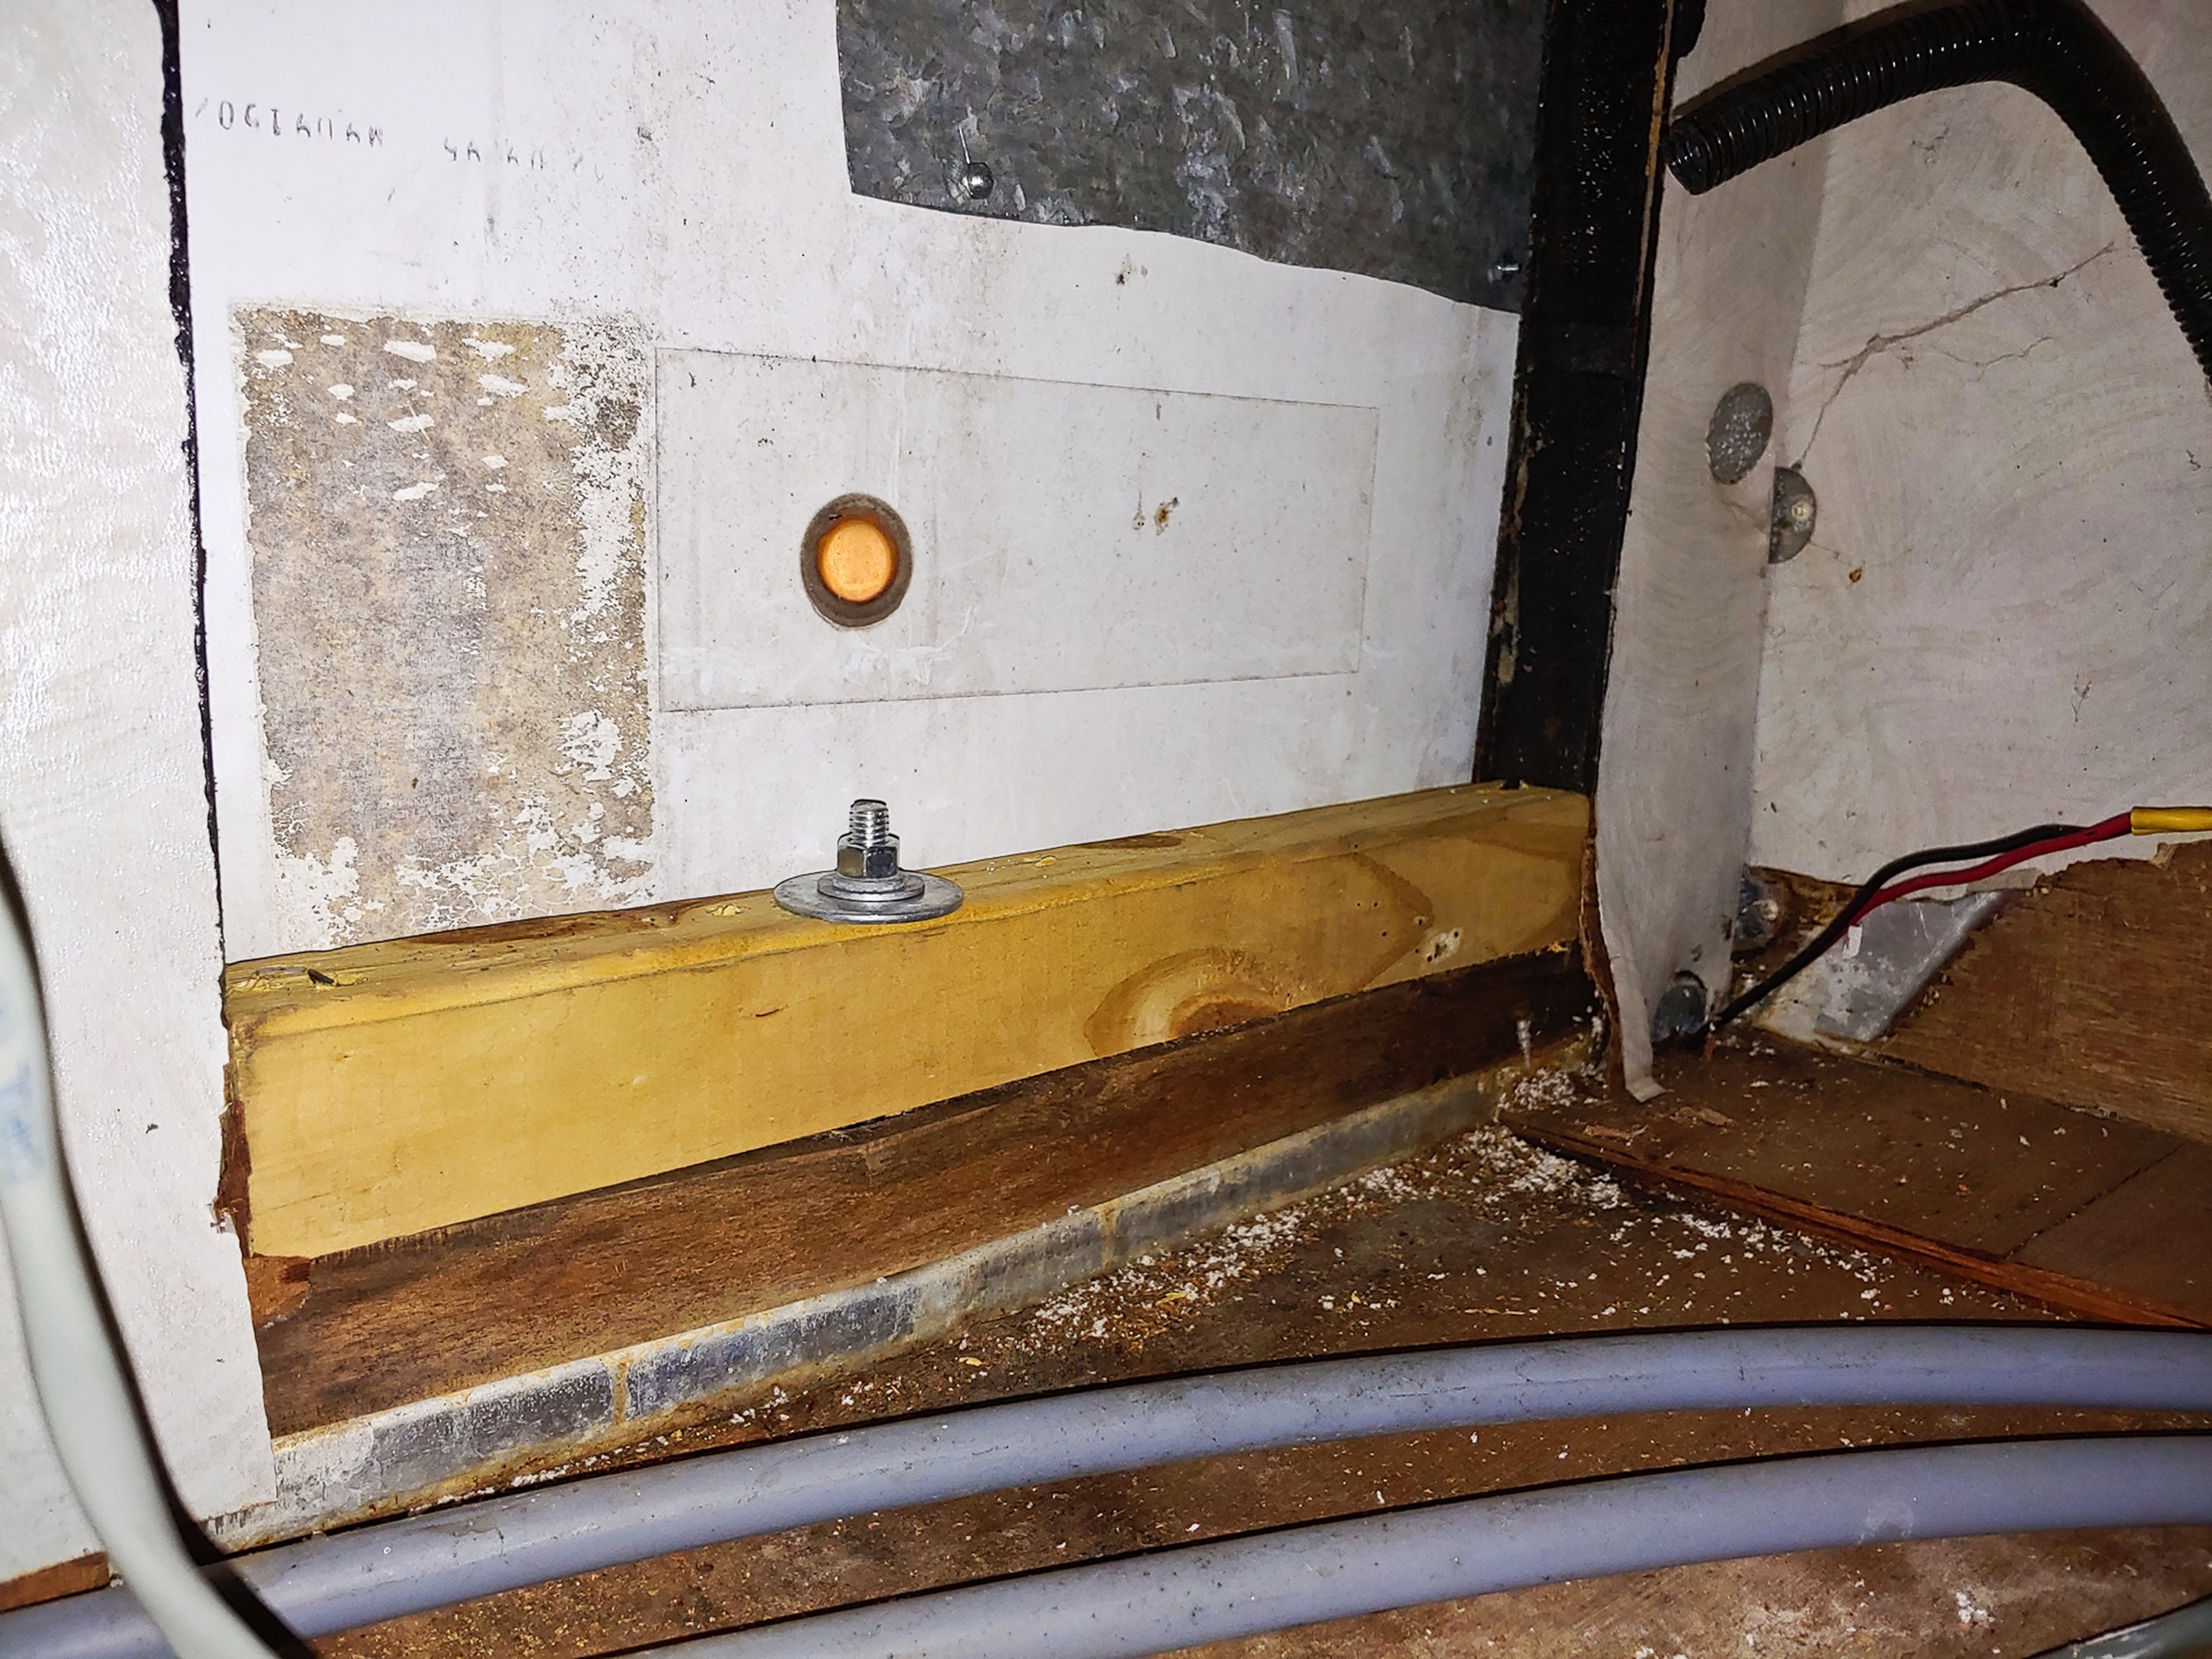
The wood into which the tie down was mounted is in bad shape:

0607221025

I reinforced the wooden frame and installed a new tie down, then used the water heater cover to seal the hole where the water heater used to be:

0607221704

Looks good:

0607221703