Installing a second oven

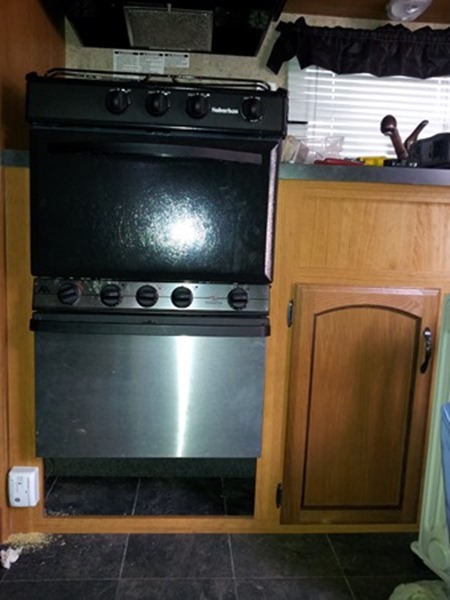
The next step was to install a second oven.  First I pulled out the oven that came with the RV:

20130101_191417


Next I cut out the cabinetry below to allow space for the second oven:

20130108_090824


Here’s the lower oven in place.  This oven matched the existing oven in our last RV, so our two ovens don’t match, which is a minor bummer.  Notice I’ve removed all the cooktop components since this oven will be below the top oven:
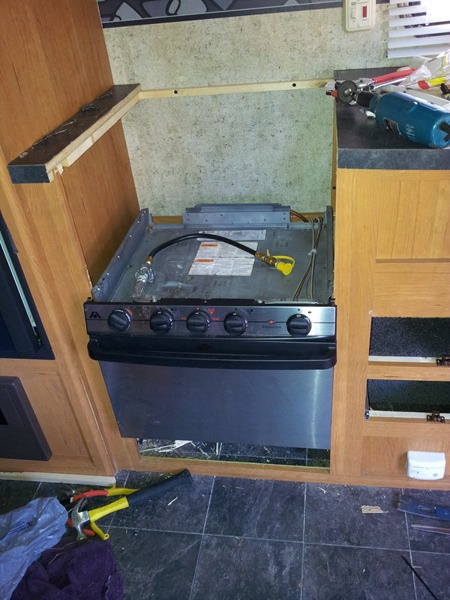
20130108_092240


I had to add risers on the countertop to raise the upper oven high enough to clear the lower oven:
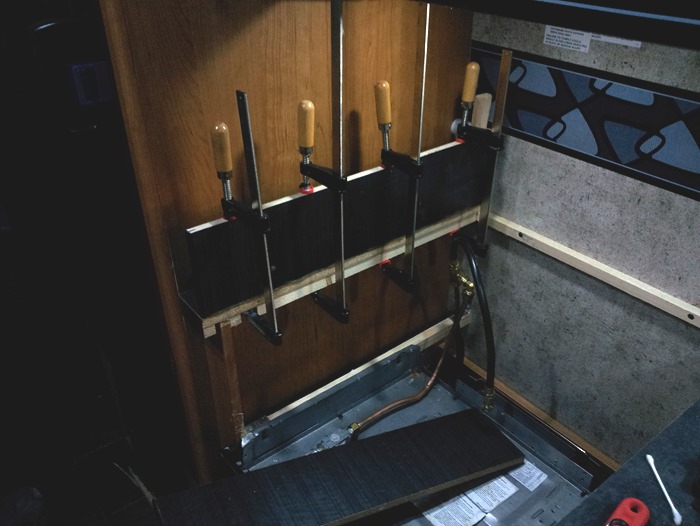
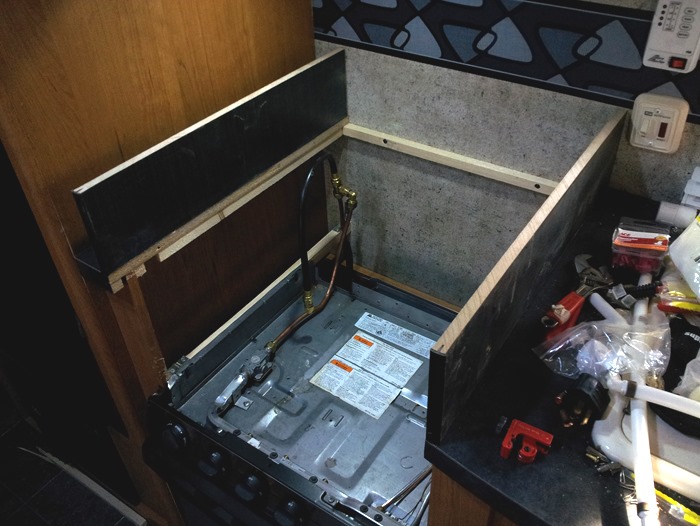
20130127_162721

20130127_134034


Top oven in place:

20130128_094346

20130222_082440

20130222_082517

All done!

Adding the new tables

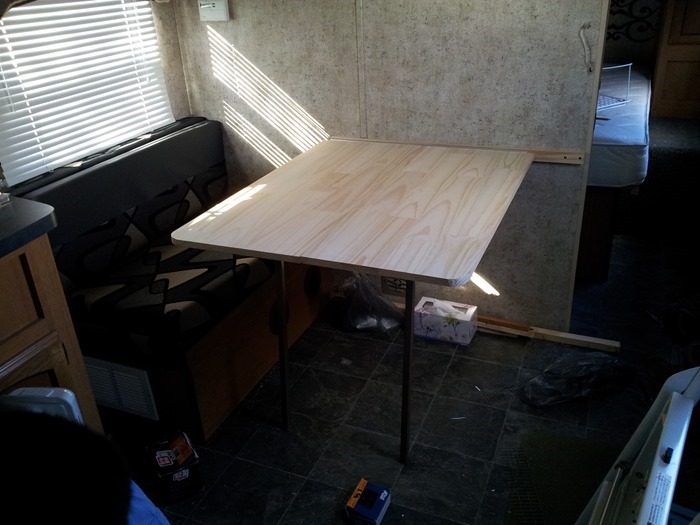
Using table mount rails on the walls, we now have a table for two in front of each bench.  The tables tip up and come off the rail:

20130221_092124


For meals, we will put together the two tables to make a table for four.  The two of us sitting on the right will use folding chairs:

20130221_091939

Furnace segregation

I had to build a wall to separate the furnace from the rest of the under-bench storage.  Notice the intake grill on the far right that allows fresh air to be drawn in from outside the under-bench storage.  I then added the chicken wire “wall” just to the right of the furnace to stop items stored under the bench from touching the very hot furnace:

20130218_120256

More cabinet doors for the other cabinetry

This cabinetry came with two doors and large solid areas, making it really hard to get at things that end up between the doors.  On the far left, there’s a foot-wide partition used to hold the stereo, which is a waste of space since the stereo is only 4 inches deep:

20130120_155851


I removed the blanks and the two doors, reworked the cabinetry framing, and installed four doors:

20130203_191803


To do this I moved the stereo to the end of the unit, freeing up the leftmost foot of the cabinetry:

20130203_191909

Adding pre-charged pressure tanks

I pulled the plywood off the bottom bunk and found plenty of space to add my pre-charged pressure tanks.  They used to be under the sofa, but now that the sofa is gone I had to put them some place.

Without a pressure tank, the moment you turn on the faucet, the pump turns on to maintain pressure in the line between the pump and the faucet.  Adding the tanks allows us to run several gallons through the faucet, then the pump runs for several minutes to fill the tanks.

Here’s how the tanks work:


pressure_tank_diagram_step1     pressure_tank_diagram_step2     pressure_tank_diagram_step3

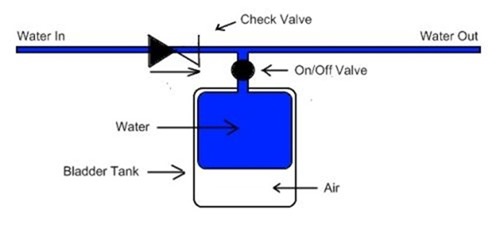
The tank hangs on the line between the pump and the faucet, like this:


pressure_bladder

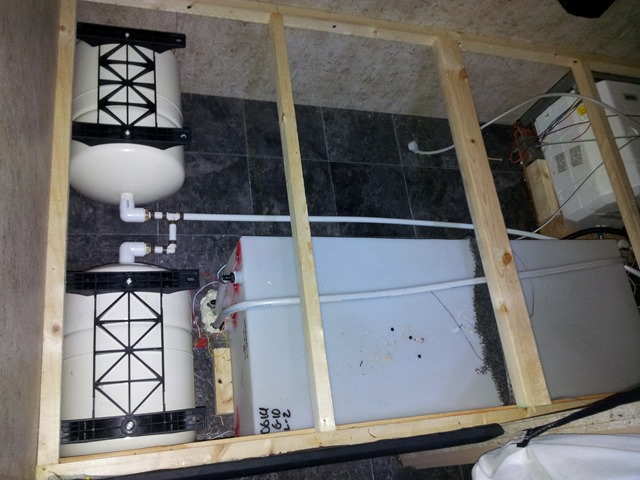
Here are the two tanks installed next to the existing water tank:

20130101_175350