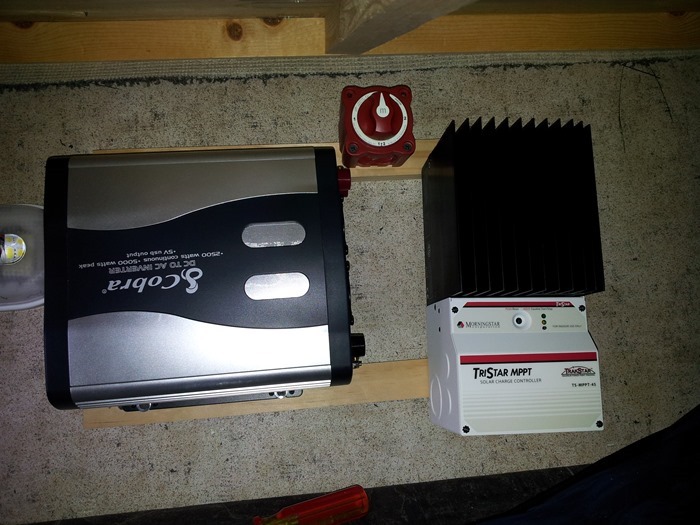
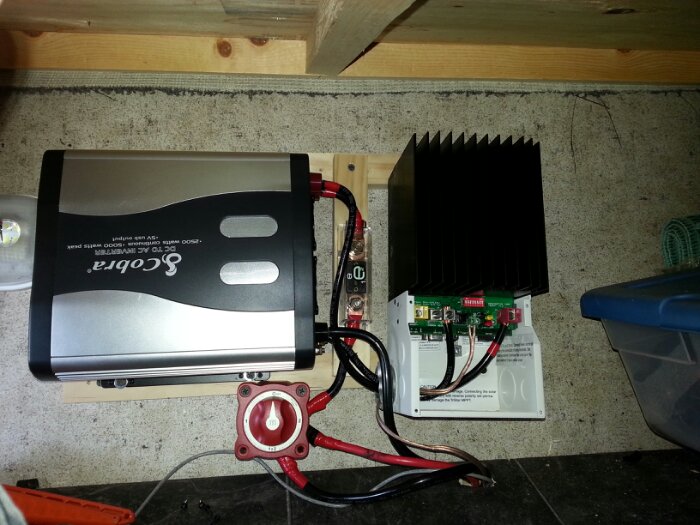
Solar controller and inverter wired up

Most of the wiring from the battery to the solar controller and inverter is in place now. I still have to run a ground wire from these two devices to the chassis of the RV, and bring down the wiring from the solar panels. Note the ridiculously large fuse between the solar controller and inverter. It can handle 150 amps!

The wiring from the battery to the inverter is 2 gauge, so it’s about as thick as someone’s finger and pretty tough to bend into the shapes needed for the installation. I used thick wire like this as the inverter draws about 90 amps when running the microwave oven.

We ran a quick test by running the output of the inverter into the AC cord of the RV, and we were able to run the microwave oven off battery power via the inverter. Success!

image

Mounting the solar controller and inverter

This is just the first of many steps.  The rails span two joists.  The solar controller is on the right, and the inverter is on the left:

20130414_182354

The plan is to bring the battery wires up through the floor, which keeps the cable run as short as possible to minimize voltage drop.  I’ll be using 2-gauge wire, which is quite thick.

Water heater thermostat modification

The water heater has a non-adjustable thermostat that shuts off at 130 degrees.  Like most people, I like to shower at 105 degrees, and Trish likes her water to be around 115 degrees.  Here’s the thermostat with its cover removed.  The unit with the red wires is for the gas heater for the water heater, and the left unit is for the electric heater for the water heater:

20121113_224610


Using an electrical faceplate, I fabricated a base plate that will hold my new thermostat.  It will attached under the existing thermostats, with my units occupying the center gap:

20130409_082240

More to come!

Water works

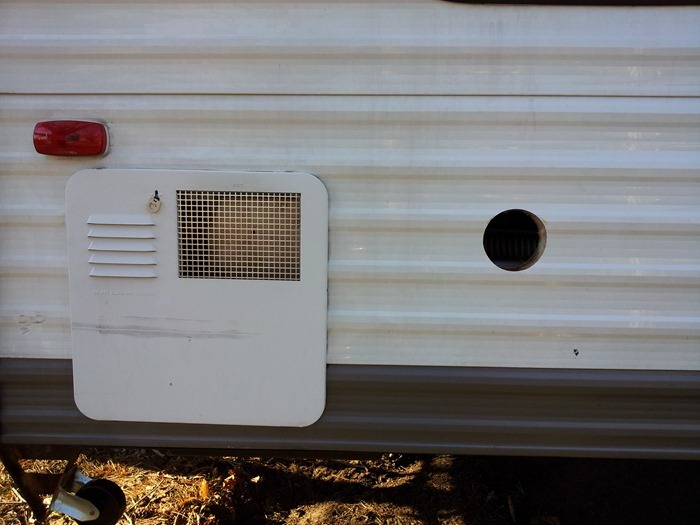
The fill hole for the water tank was installed in the rear wall of the RV, which made filling difficult with bikes on the bike rack.  I removed the fill assembly and capped it:

20130404_083931


Next, I drilled a 3.5” hole for the new fill assembly.  It was one of those “I really hope I don’t screw this up” moments:

20130404_083901


New fill assembly added:

20130405_183827


On the inside, I opted to add a second water tank (the new one is the one towards the top of the photo.  The fit is very snug, so I couldn’t use the new tank’s fill connecter.  I cut it short and plugged it with a swimming pool freeze plug (looks like this):

The new tank fills using the pump supply line, so it fills slowly.  I therefore moved the fill level sensors to the new tank.  There was a great deal of plumbing to be done, but it’s all working very well now.

I also added a lengthwise support so I could split the lower bunk’s “floor”:

20130407_173039


I did this because the lower bunk will now have a narrower mattress so that we can install floor-to-ceiling shelving for storage:

20130407_180117

All done!

20130407_181224