15 days to go!
We stained the tables we built to match the rest of the wood in the RV. Before and after photographs below:


15 days to go!
We stained the tables we built to match the rest of the wood in the RV. Before and after photographs below:
15 days to go!
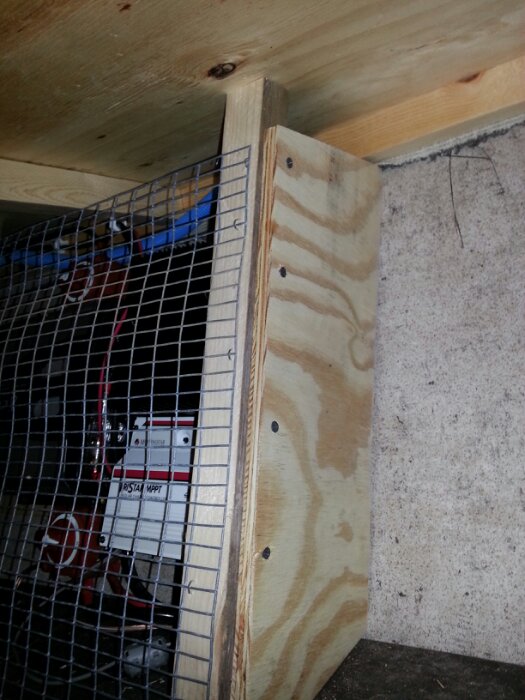
The charging and inverter installation project is winding down, I promise. I added a piece of wood and a grill to protect the charger and inverter from other things rolling around in the basement. I have to make a modification to make the grill more readily removable and then I’ll be truly done.
17 days to go!
The RV came with a small closet alongside the upper bunk, and the bottom bunk was as wide as the upper bunk plus the width of the small closet above:

I switched the lower bunk’s mattress to be the same width as the upper mattress and built a wall to act as the end cap for floor to ceiling shelving that runs the length of the bunk and utilizes this previously wasted space:

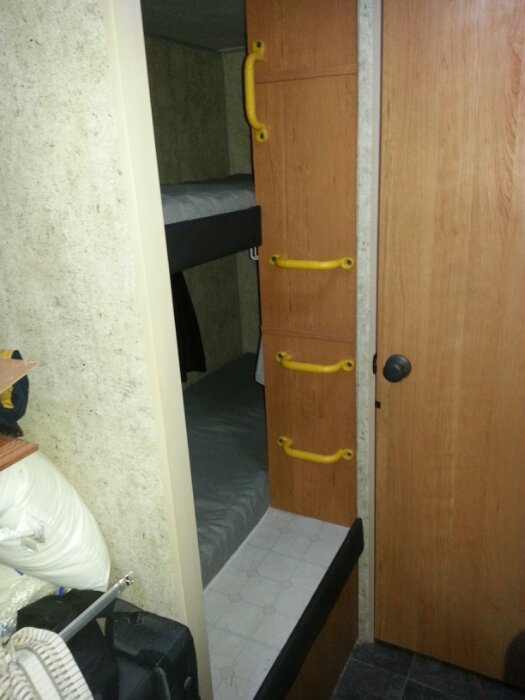
Here’s the finished wall with rungs for our Daughter to access the upper bunk:
Here are a couple photos of the installed shelving:

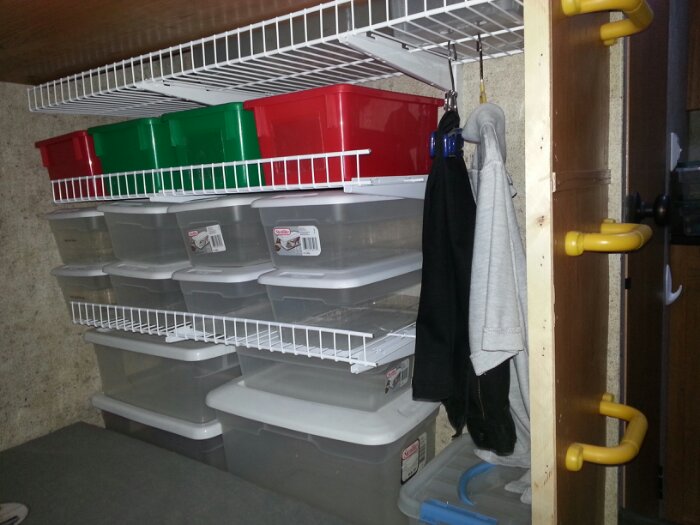
We now have tons more storage!
19 days to go!
The inverter wiring is finalized. The output of the inverter runs through the blue conduit under RV and up behind the breaker panel. We now have a breaker for the inverter, and I’ve color coded the breakers and added instructions that insure the inverter supply and external A/C cable supply are never on at the same time. ‘Cause that would be really, really bad.


23 days to go!
I installed a peep hole in the RV door. We overnight in Walmart parking lots from time to time, and despite the fact that we call ahead to make sure it’s OK for us to stay, we’ve had at least one encounter where we were told to move along. For situations like these, it will be nice to see who is out there. I’m a little surprised these aren’t standard equipment on RVs.


 Facebook
 Email
Email