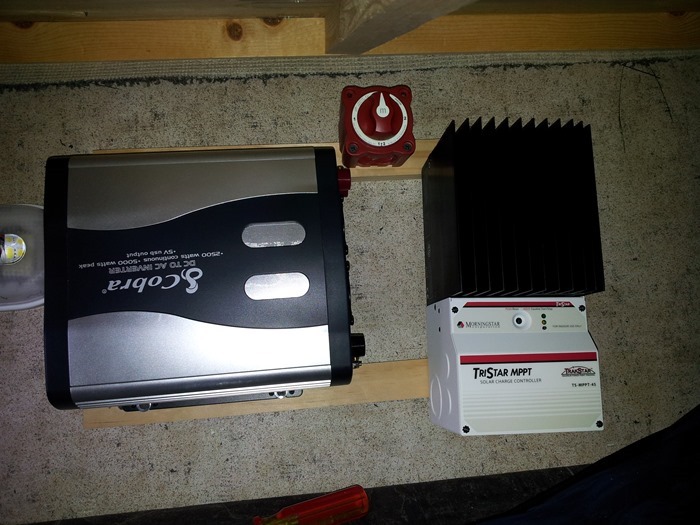
This is just the first of many steps. The rails span two joists. The solar controller is on the right, and the inverter is on the left:
The plan is to bring the battery wires up through the floor, which keeps the cable run as short as possible to minimize voltage drop. I’ll be using 2-gauge wire, which is quite thick.
The water heater has a non-adjustable thermostat that shuts off at 130 degrees. Like most people, I like to shower at 105 degrees, and Trish likes her water to be around 115 degrees. Here’s the thermostat with its cover removed. The unit with the red wires is for the gas heater for the water heater, and the left unit is for the electric heater for the water heater:
Using an electrical faceplate, I fabricated a base plate that will hold my new thermostat. It will attached under the existing thermostats, with my units occupying the center gap:
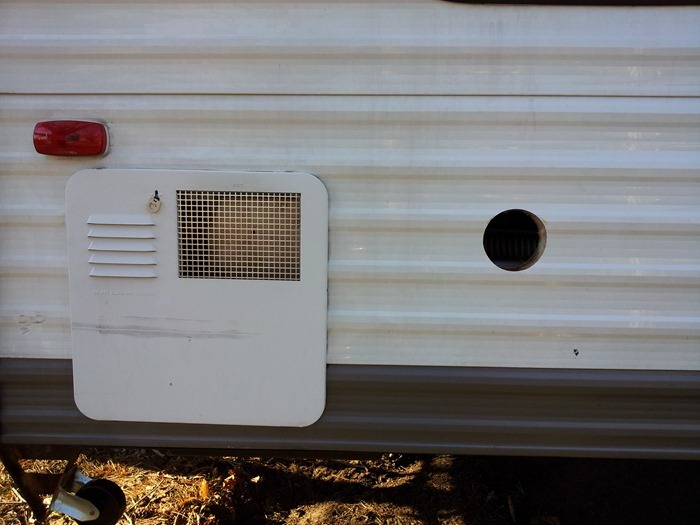
The fill hole for the water tank was installed in the rear wall of the RV, which made filling difficult with bikes on the bike rack. I removed the fill assembly and capped it:
Next, I drilled a 3.5” hole for the new fill assembly. It was one of those “I really hope I don’t screw this up” moments:
New fill assembly added:
On the inside, I opted to add a second water tank (the new one is the one towards the top of the photo. The fit is very snug, so I couldn’t use the new tank’s fill connecter. I cut it short and plugged it with a swimming pool freeze plug (looks like this):
The new tank fills using the pump supply line, so it fills slowly. I therefore moved the fill level sensors to the new tank. There was a great deal of plumbing to be done, but it’s all working very well now.
I also added a lengthwise support so I could split the lower bunk’s “floor”:
I did this because the lower bunk will now have a narrower mattress so that we can install floor-to-ceiling shelving for storage:
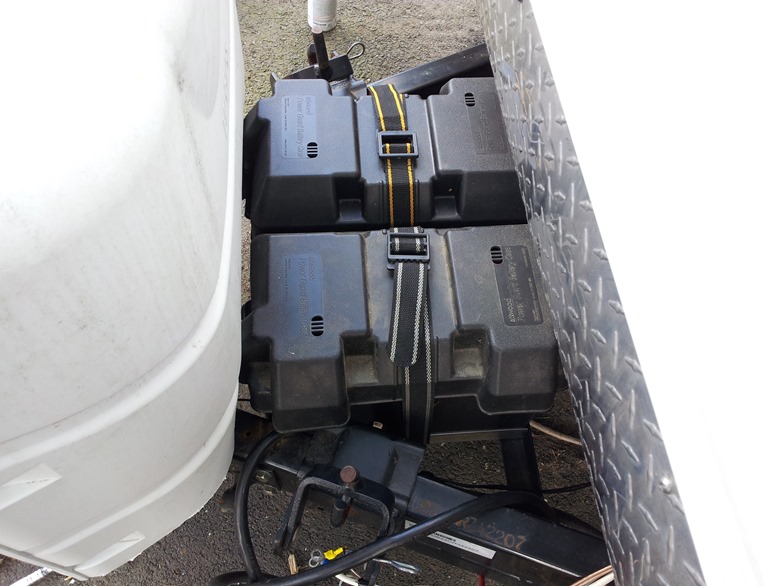
I decided to go from one 70Ah battery to a pair of 115Ah batteries, thus tripling our power storage. Many people recommend a pair of 6 volt batteries in series, but I decided to opt for a pair of Walmart 12V batteries in parallel. They’re available everywhere, and come with a two-year warranty, and they’re only $100ish each.
I first removed the support tray for the LP tanks:
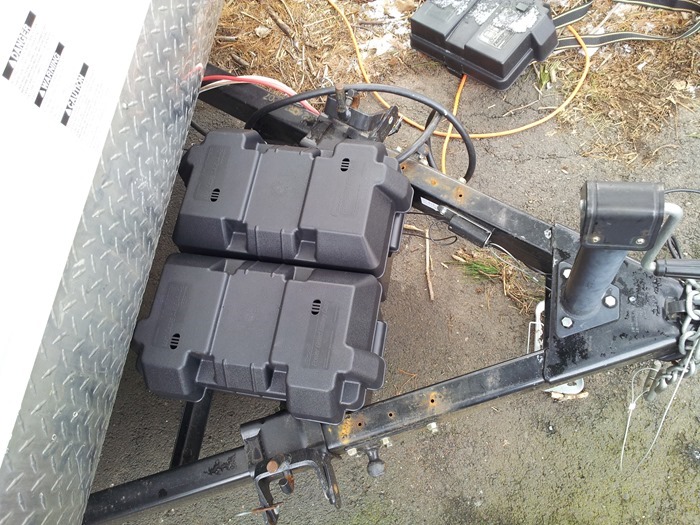
Next, I used the angle grinder to remove the front edge of the forward L-channel so the battery boxes could be installed lengthwise. Here’s a mock up.
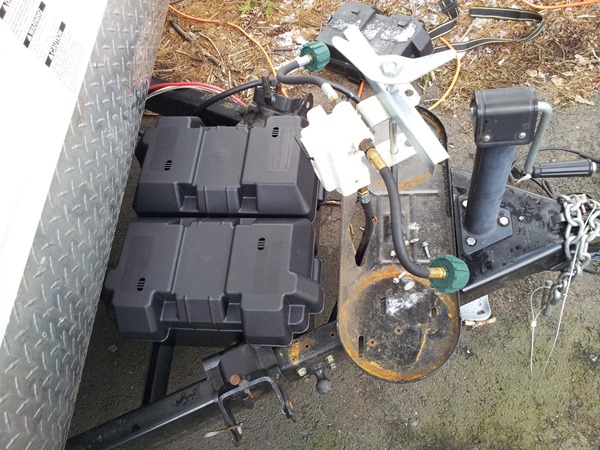
With the LP tray all the way forward, everything just fits:
To finalize the install, I installed aluminum L-channel to support the batteries:
It’s a tight fit, but it works!
With the LP tanks so far forward, the cover actually encloses the front jack, so I had to cut an access hold to allow to cranking:
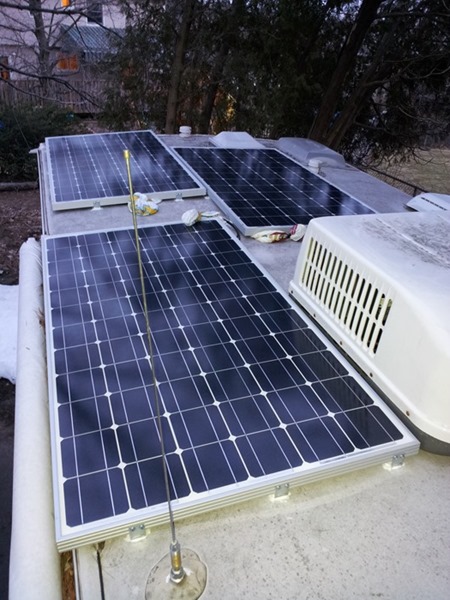
I added three more panels to the RV roof. They had to be mounted in a way that the mounting brackets could be screwed into the joists, which are spaced every 18 inches or so:
We now have 555 more watts of solar on the roof. Adding brackets that allow the panels to be tilted towards the sun, increasing power production by 30% or so. I decided it was easier just to add an extra panel.
Next I have to add the solar change controller and wiring.









 Facebook
 Instagram
 Email
Email