After about a month of preparation getting the house ready and getting moved out into the RV, we’ve actually hit the road!
Well, at least we’ve left our driveway. We’re now in the parking lot of the local community college having a late lunch at about 3:45 p.m.. After that, will be hitting the open road, westward bound.
We’ve been having a problem with the back end of the RV hitting the ground when we drive into a steep driveway. The problem was so bad that I welded a set of skid wheels onto the back of the RV. Last time they hit, we were going around a corner, and while the wheels held up, the sideways force bent the frame member to which one of the wheels is attached.
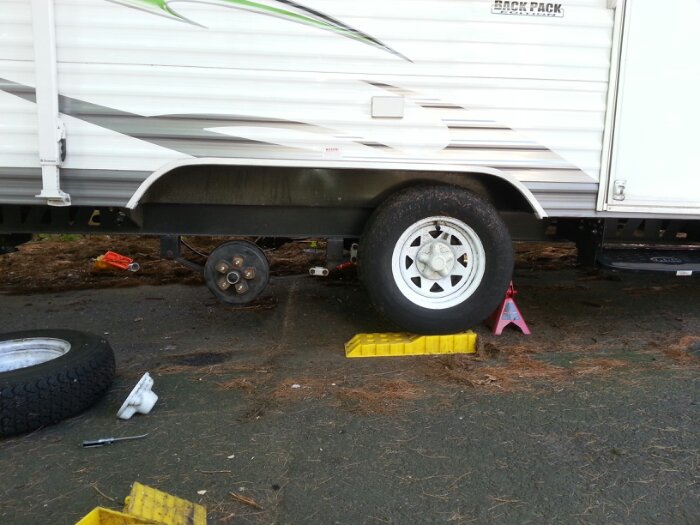
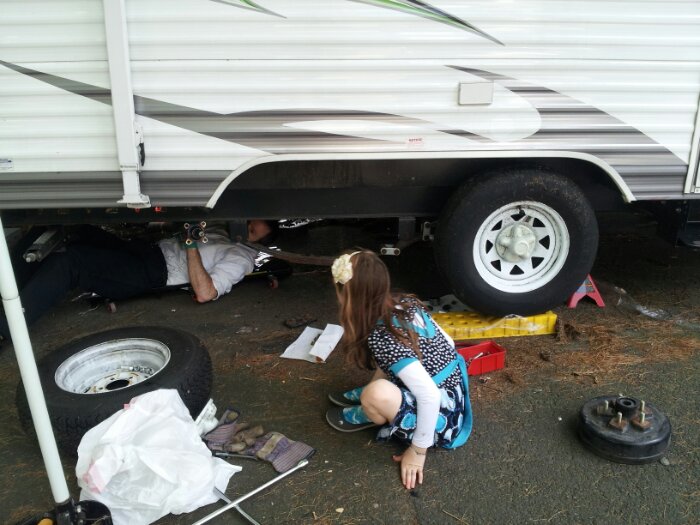
I decided more drastic action was in order, namely removing the axles from being mounted above the leaf springs and mounting then below the leaf springs. This move would increase the trailer clearance by about 5.5 inches, which should be enough to eliminate any bottoming out issues on steep driveways.
The first step was to remove the axle:
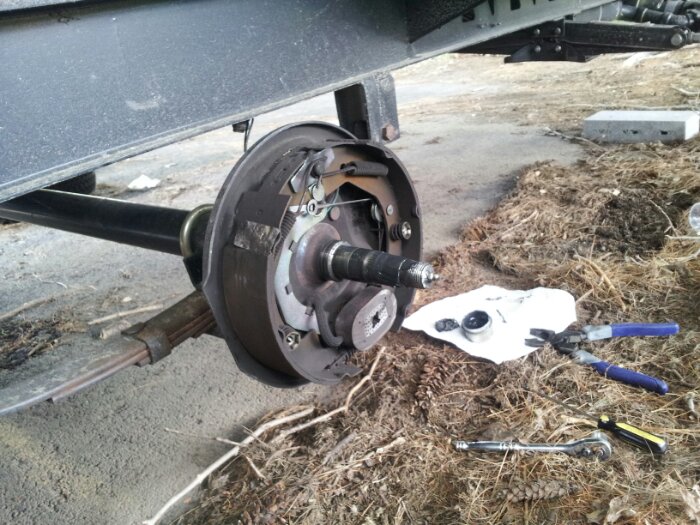
Next I removed the hub:
Next, the brake plate comes off:
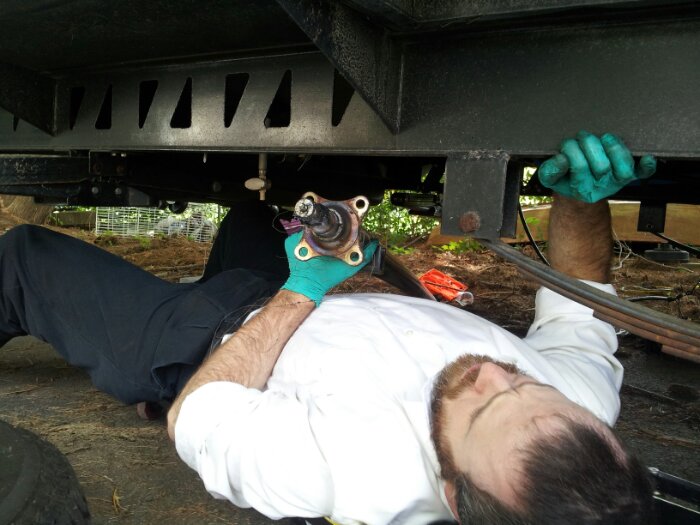
Finally, the axle is removed:
The axle has some bend in it so that it is flat when under load. Therefore the axle has to stay in the same orientation as before. This means that the axle perch, the component that meshes the axle to the springs, is facing the wrong way, as the axle used to mesh to the springs on the axle’s bottom. Now that the axle is below the springs, the axle perch needs to be on top of the axle. This problem is solved by adding a second axel perch.
Here’s the difference for between the modified axle (left), and the original axle (rght):
I did all four axles. Now that it’s done, I hope we will never have to deal with the back-end of the trailer dragging along the ground.
Some time ago, I removed the television antenna from the telescoping rotating mast on the top of the RV and installed in its place a directional cellular antenna. We tested it up in the Catskills in a location where my cell phone by itself got no signal, and when we raised the antenna, aimed it at a tower, and powered up the booster, we went to four bars on the cell phone. The mast is raised by cranking a handle on the inside of the RV, and rotating the mast is accomplished by turning a rotating bezel that is on the outside of the handle.
Today I added a wifi grid antenna to the mix, the image and video below show it in action. In order to get them all to fit, I kept the cell antenna in its mounting bracket but mounted the WiFi antenna directly to the mast so that they both lay flat when the mast is lowered:
Here’s the video:
If you don’t laugh heartily when watching the video, you can’t call yourself a geek!
When planning this trip, we realized that we would be spending a good bit of time on dirt and gravel roads while camped on public land out west. At the same time, we very much enjoy road biking, so the question was what kind of bicycles to bring on the trip. Realizing that taking eight bicycles was impractical, we decided to purchase a set of low-cost cyclocross bicycles.
Cyclocross bicycles are basically a road bike with a slightly beefier frame and wider tire clearance to allow larger knobby tires. We also purchased a second set of wheels, so we have one set with off-road wheels and one set with on-road wheels.
One thing we needed was a bike rack that could carry both the four bicycles and the eight wheels. The bike rack we had used previously stack the bikes in depthwise, so if you wanted to access the innermost bike, all four bikes had to come off. Also, the bikes were rather close together, so there was a lot of juggling to get all the pedals in the correct position so they didn’t rub against their neighbor’s frame, etc.
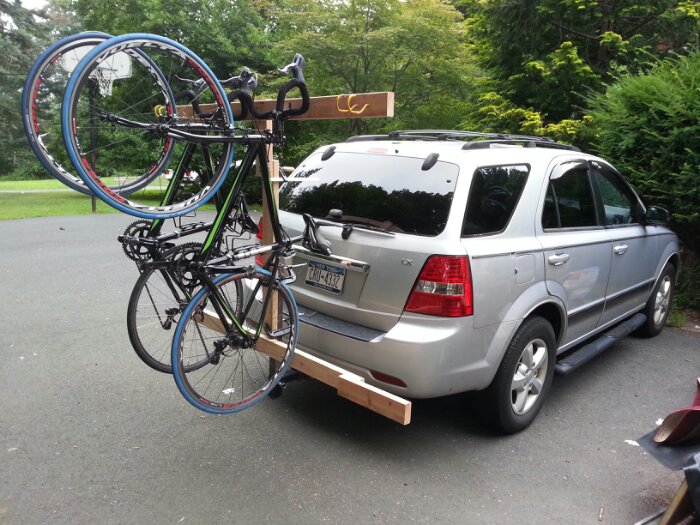
I first decided to prototype the bike rack using wood:
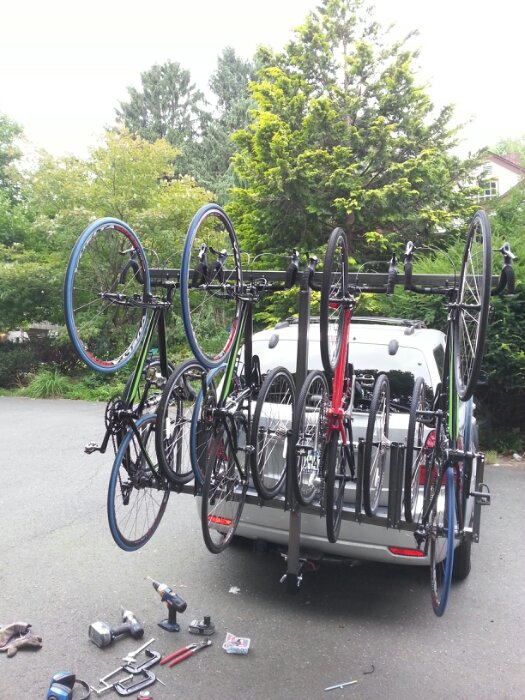
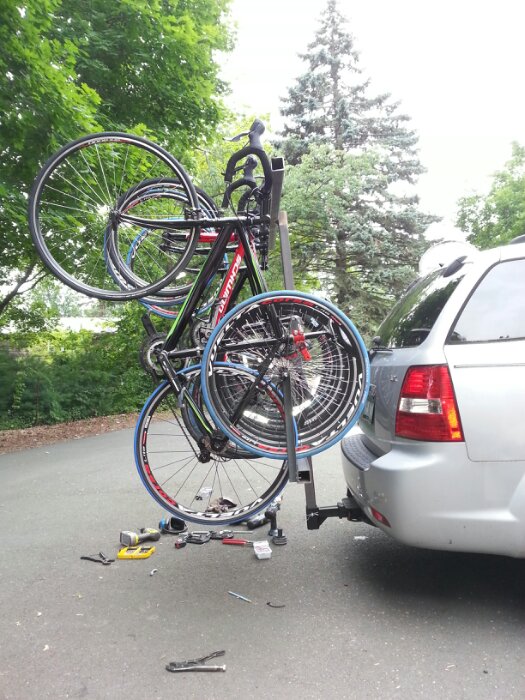
Once it was clear that everything was going to go together okay, I purchased some 2 inch square tubing and went to work welding together the final rack. Here are some photos with all four bikes mounted as well as the two extra wheels for each bicycle:
It looks like I’m going to have to move the hooks that hold the handle bars up top into a wider position to reduce the amount of movement I get from the bicycles while they’re on the frame. I also need to purchase a set of balls bungees to hold the bike onto the Rack. Finally, I need to weld a receiver on to the RV’s back bumper so that we can use the rack both on the RV and on the truck when we have left our RV back at the campsite and want to do a mountain biking or road biking adventure away from camp.
We are very much hoping to get out of here this week and get on the road, so we’ll see in the next couple days if that actually happens!
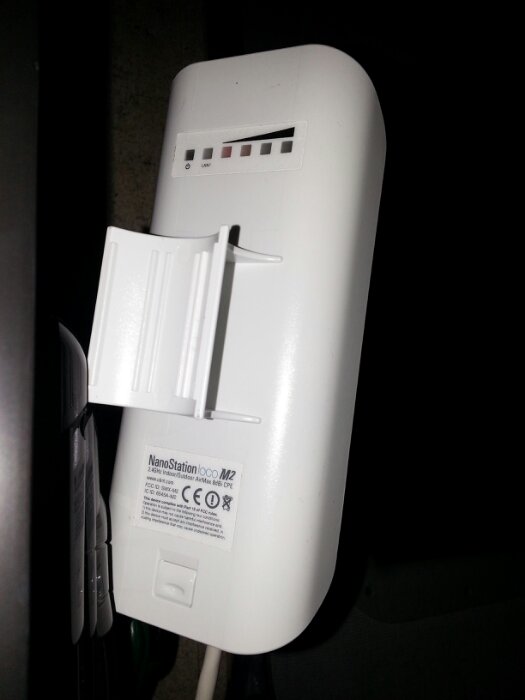
…over troubled waters? Well not exactly, but we are pretty far from the house here in the driveway and the question was how to get wireless access here in the RV. The solution was to use a pair of the devices pictured below to setup a wireless bridge between the house and the RV. From a network topology perspective, it’s like the RV is plugged into the network in the house. We then hang a normal wireless router off of this device, and all of our wireless devices in the RV connect to the router as if the router is installed in the house. Pretty slick!










 Facebook
 Instagram
 Email
Email