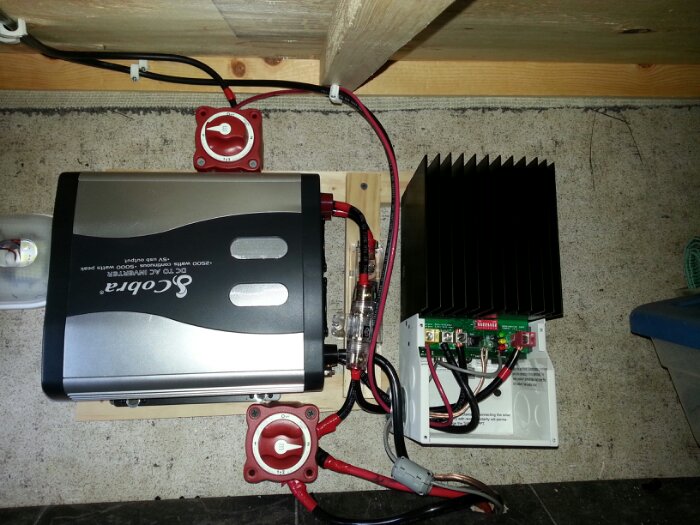
On Sunday, I was able to bring the solar panel wires all the way in to where the solar controller is. In this photograph, they come in on the upper left, go through the upper switch, and then into the solar controller. I’ve also added a fuse for the solar controller which is in front of the larger fuse for the inverter.
Here’s the modified faceplate I showed in a previous post, now with the new thermostat mounted and wired up for testing:
Seems to work really well. I now need to add a second thermostat, as Trish likes her water a bit hotter than the rest of us. There will also be a switch that will be used to select which thermostat to use.
I mounted the three new solar panels on the roof a couple months ago. Now that the controller is installed, I ran the wires from the back of the RV where the three new panels are installed, skirting the original panel at the front of the RV to get to where the controller is installed. I used various tools to hold down the wires while the caulk dried:
I ran the wires from the roof down into a cabinet, now I need to get them to the controller.
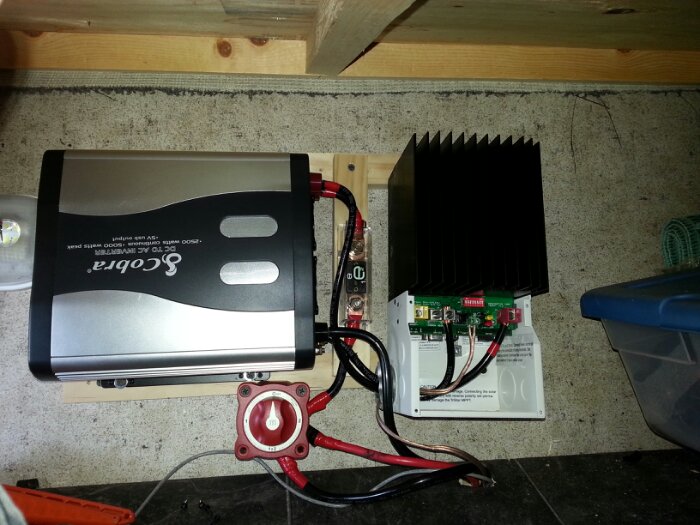
Most of the wiring from the battery to the solar controller and inverter is in place now. I still have to run a ground wire from these two devices to the chassis of the RV, and bring down the wiring from the solar panels. Note the ridiculously large fuse between the solar controller and inverter. It can handle 150 amps!
The wiring from the battery to the inverter is 2 gauge, so it’s about as thick as someone’s finger and pretty tough to bend into the shapes needed for the installation. I used thick wire like this as the inverter draws about 90 amps when running the microwave oven.
We ran a quick test by running the output of the inverter into the AC cord of the RV, and we were able to run the microwave oven off battery power via the inverter. Success!
This is just the first of many steps. The rails span two joists. The solar controller is on the right, and the inverter is on the left:
The plan is to bring the battery wires up through the floor, which keeps the cable run as short as possible to minimize voltage drop. I’ll be using 2-gauge wire, which is quite thick.


 Facebook
 Email
Email